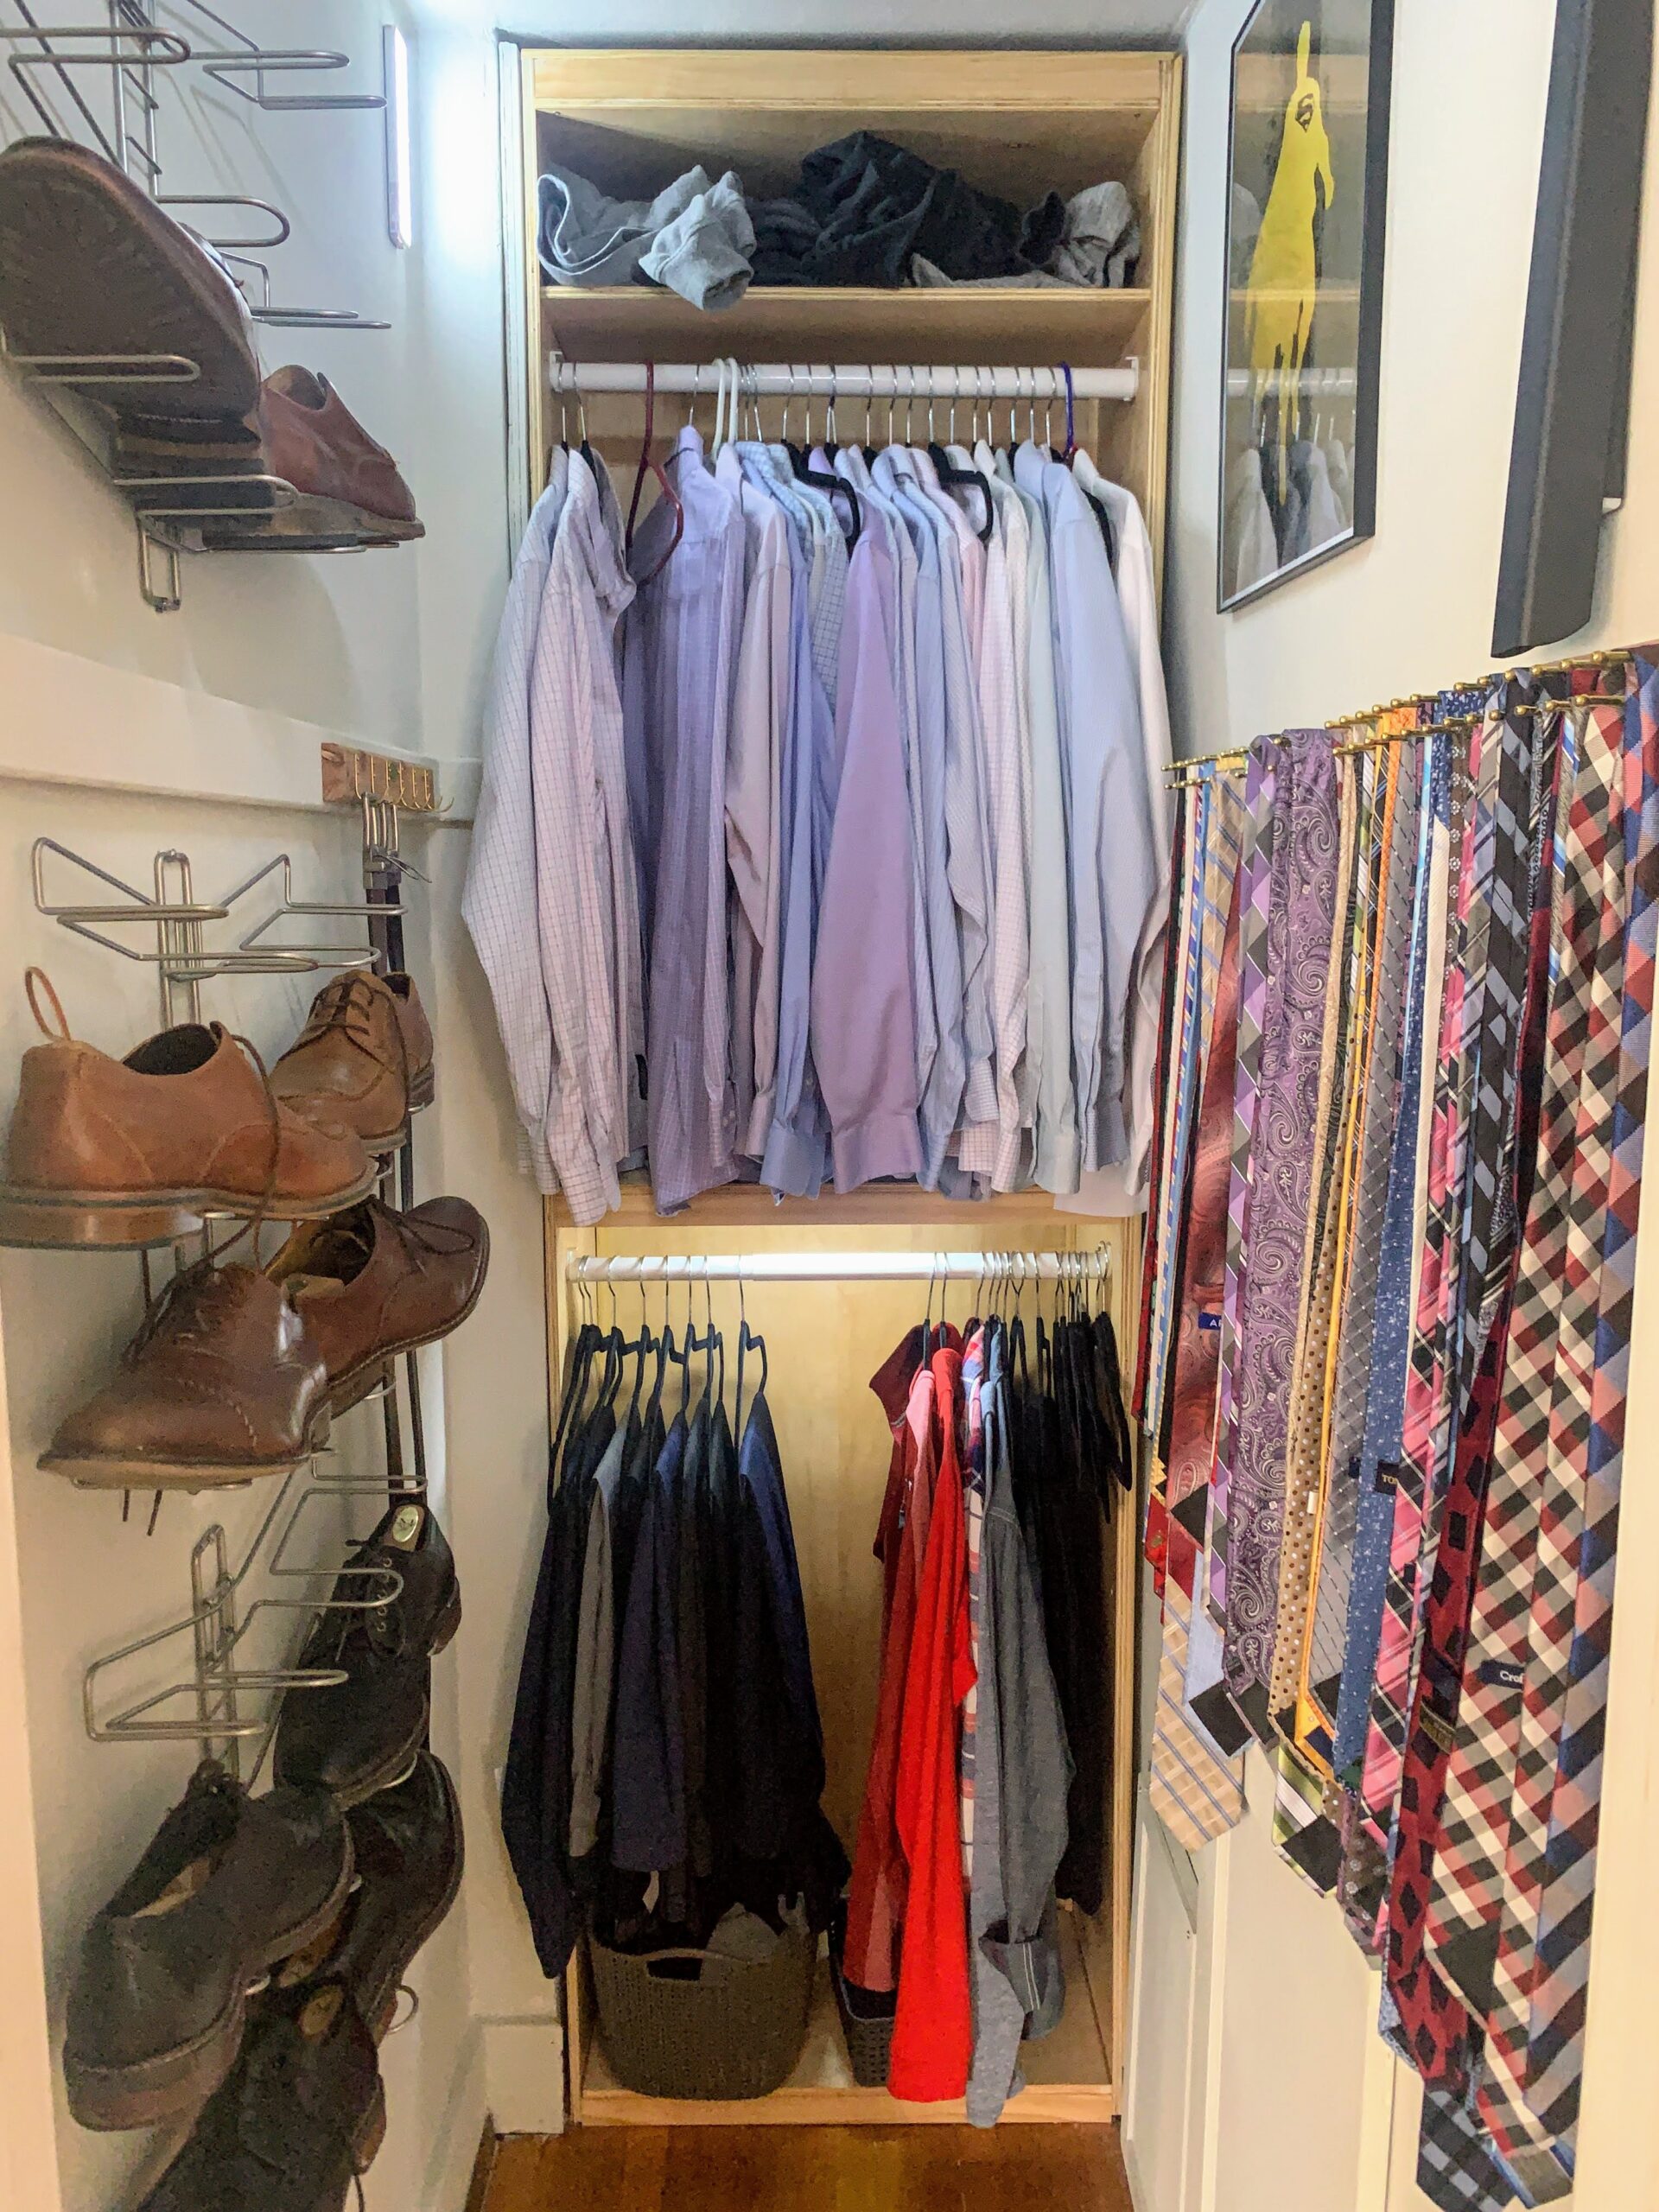
Updating this small, narrow bedroom closet was something that needed to be done. It was narrow, dented, tall, and a major waste of space. When I toured the home originally, there were giant access holes in the walls on either side of the closet. I thought the access holes would be re-paneled when I bought the home. They were not.
In addition, the two rows of rods in front of one another did not make any sense and wasted a lot of space at the top of the closet. The closet itself wasn’t wide enough for a walk-in, so I decided to design a custom wardrobe that matched my zero-experience woodworking abilities. I found some inspiration and researched how it would come together. Inspired by one particular YouTube video I saw, I knew that I could assemble this wardrobe by learning how to wield a few power tools.
I took to my notebook to sketch up a plan for a wardrobe. I decided that only a back unit could be created that allowed for two sections on top of one another.


Before I could begin building and installing, I needed to mend the walls. Previous owners had used long nails to install the rods, which left giant holes in their wake. I used plaster for major repairs and topped that off with a few skim coats. Then, I sanded everything down with a hand sander…which was a major mistake. The dust spread like wildfire and settled on everything… on the entire floor. After the many days of smoothing, sanding… and cleaning, I painted the closet Magnolia Piece of Cake – a beautiful, creamy light gray.
I also built new access panels to cover the gaping holes in the walls. I measured the holes, and then fitted each with some custom trim. A few screws and the access holes were covered.
Then it was time for building the wardrobe. With my partner away for the weekend, I took to Lowe’s to pick up my 4×8 sheets of maple plywood and some stain. With the help of some strong Lowe’s boys, I got the plywood strapped to the top of my car and home safely. I also picked up some sheets of foam so that I could cut the large sheets on the floor – a trick I learned from one of my favorite YouTube channels: Get Hands Dirty. I also decided on a light poly stain – Oak.
I didn’t get as far as I would have liked with the project in my free weekend, so when my partner came home, he helped me to assemble. Thanks to my new pocket hole skills, the wardrobe actually went together a lot easier than I expected.
There was no room for shoes, ties, and belts, so I needed to build those in elsewhere. I found some creative solutions on Amazon. I found a company that made nice ‘wood and gold’ tie and belt racks. I also found a great solution for shoes – a wall rack that would display the shoes sideways. I topped off the design with some LED motion lights, a Persian-style rug, and a valet hook.


The final result is a much better closet for this narrow situation with plenty of storage opportunities. It came out way better than expected and has been super functional ever since.
The Main Floor Bedroom Closet

before

after
Shop this Redesign


